Advertisement
Message Forums |
|
 Topic: Fitting a flashing kit to a bell tent? Topic: Fitting a flashing kit to a bell tent?
|
Page: 1 2
  |
20/5/2013 at 9:57am
Location: Aberdeenshire
Outfit: Several tents and a hammock
 View Profile
 Reply
Reply
 Quote
Quote
|
Joined: 30/4/2010 Diamond Member 
Forum Posts: 2877
Tent Reviews: 3
| Site Reviews Total: | 22 |
|
| Site Reviews 2024: | 0  |
| Site Reviews 2023: | 0  |
| Site Reviews 2022: | 0  |
| Site Reviews 2021: | 0  |
| Site Reviews 2020: | 0  |
| Site Reviews 2019: | 0  |
| Site Reviews 2018: | 0  |
|
| Site Nights 2024: | 0 |
| Site Nights 2023: | 0 |
| Site Nights 2022: | 0 |
| Site Nights 2021: | 0 |
| Site Nights 2020: | 0 |
| Site Nights 2019: | 0 |
| Site Nights 2018: | 0 |
|
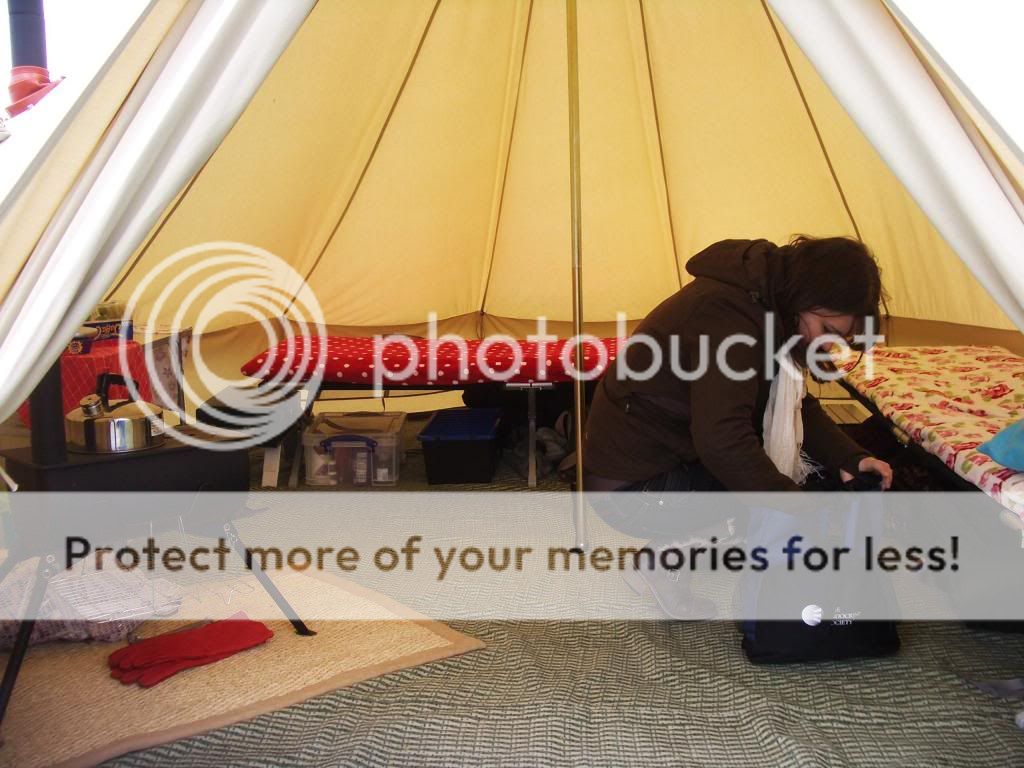
Okay, apologies for so many photos but hopefully they will help to explain how I fitted my flashing kit. This may be a bit over the top, and there are simpler ways to do it, but here goes:
1. Thanks to the lady in my local sewing shop for suggesting a way of reinforcing the edges of the hole. Take a square of calico. Pin it on the OUTSIDE of the tent, over the point where you want to cut the hole. Draw round the inside of one of the flashing rings to give the circle which you will be cutting. Pin the calico to the tent and stitch round this circle, so that you have a square stitched to the outside of your tent.
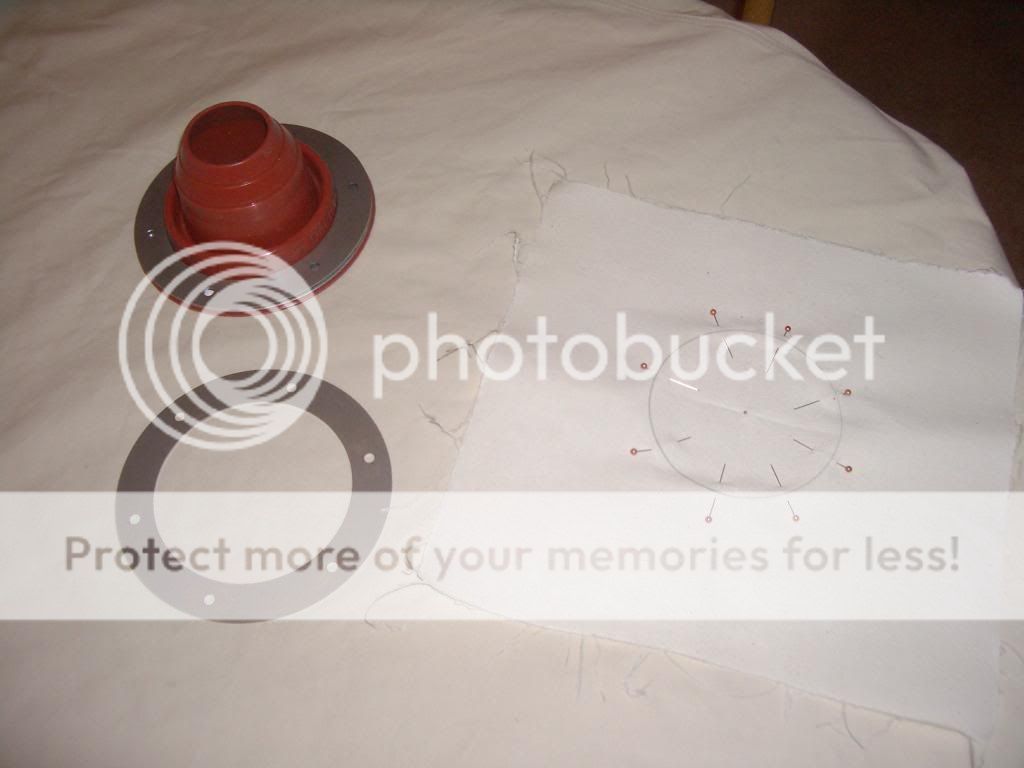
2. Cut out most of the circle, leaving a small border:
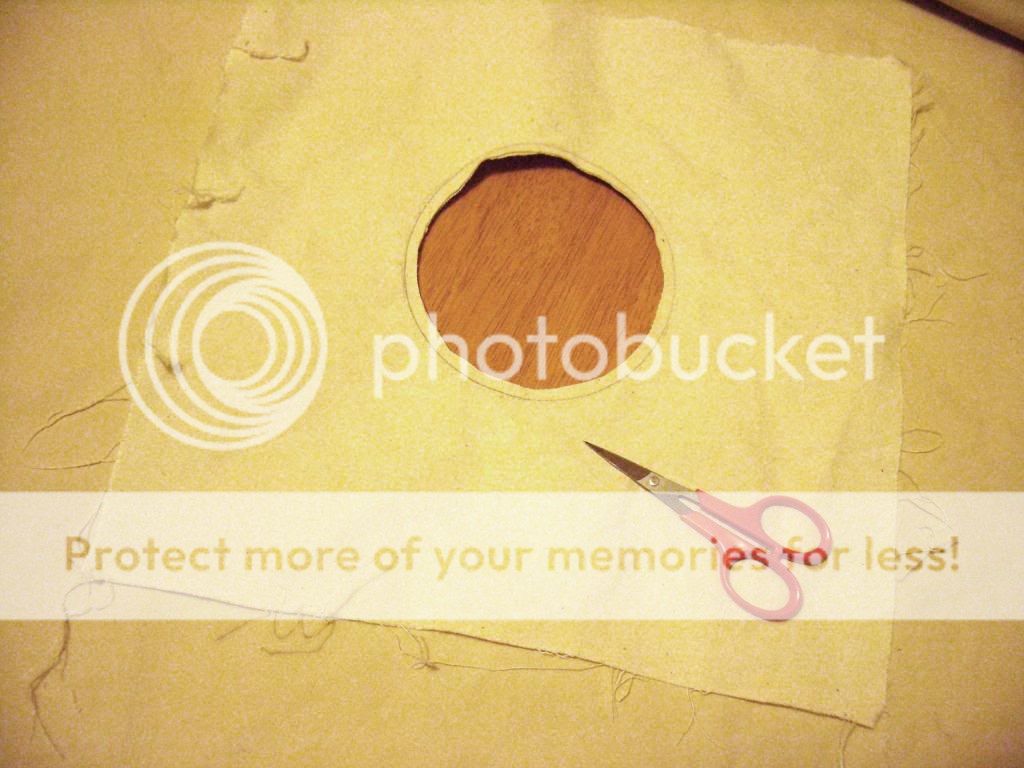
3. Cut little notches around the edge. Make sure you don't cut the stitching.

4. Push the calico through the hole from the front to the back.

5. You are left with a neat, reinforced circle on the front.

6. On the back (inside) of the tent, trim and turn under the edges of the calico square. Stitch them down.

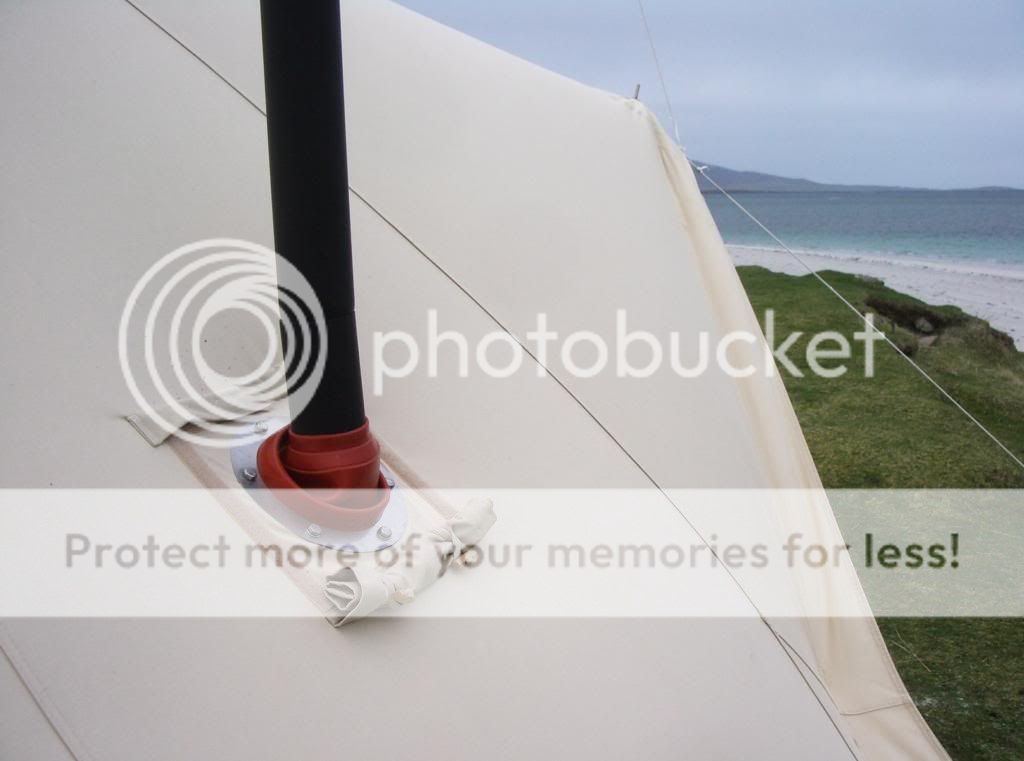
7. Use a piece of canvas from the flap of the tent bag to make a square cover for the outside of the hole. Sew velcro round three sides. The fourth side will be stitched to the tent.
Get two strips of fabric, thread a toggle onto each, stitch the ends of each strip together to form a loop. Stitch the square flap to the tent along its bottom edge, stitching down the loops at the same time so that half of the loop is each side of the stitching, with the toggle on the lower edge. These are so you can roll down the flap and secure it out of the way.
I sewed my flap below the flue hole so that if it came undone it would fall downwards, away from the hot flue (unless the wind was blowing!).
Stitch velcro onto the tent to match up with the velcro around three sides of the flap.
I also made a small flap to cover the top edge to shed rain over the top of the flap and prevent it seeping down through the velcro. The small flap also has velcro to attach it to the main square flap at the top.
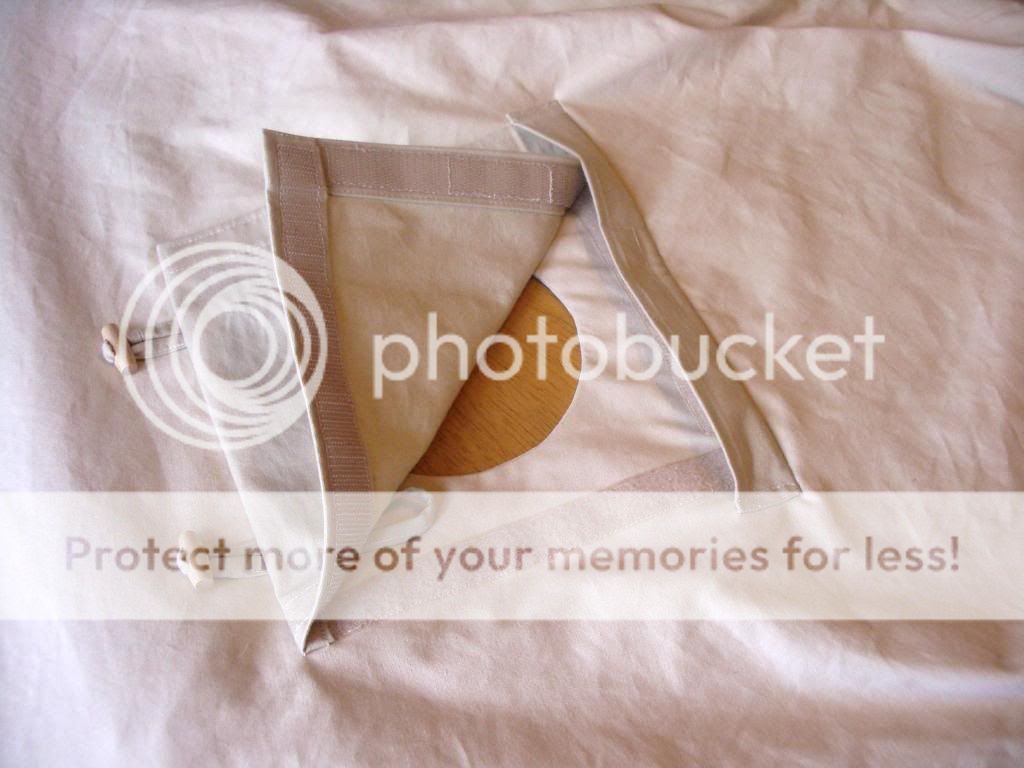
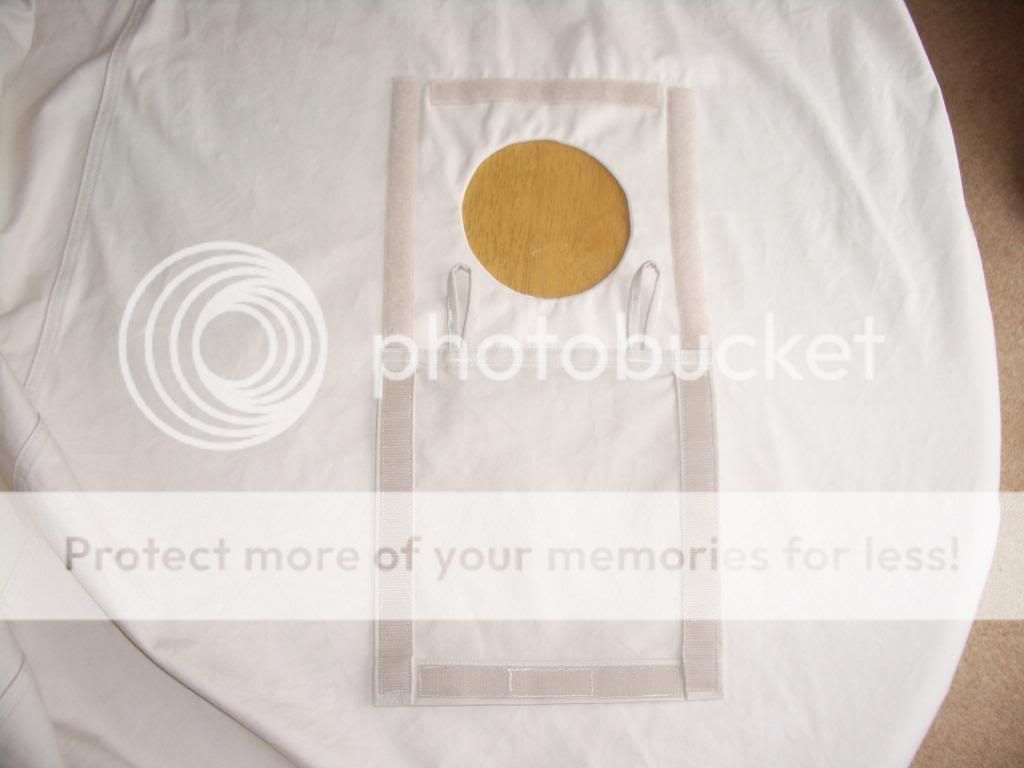
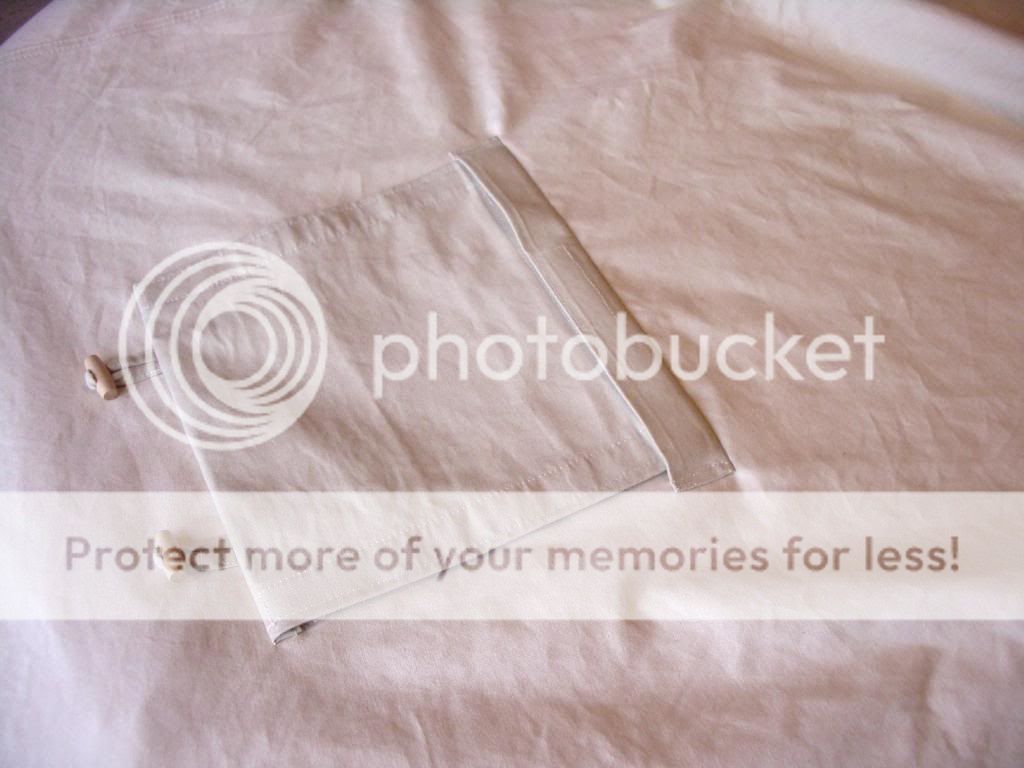
8. Put the flashing kit in place and mark the positions of the holes.
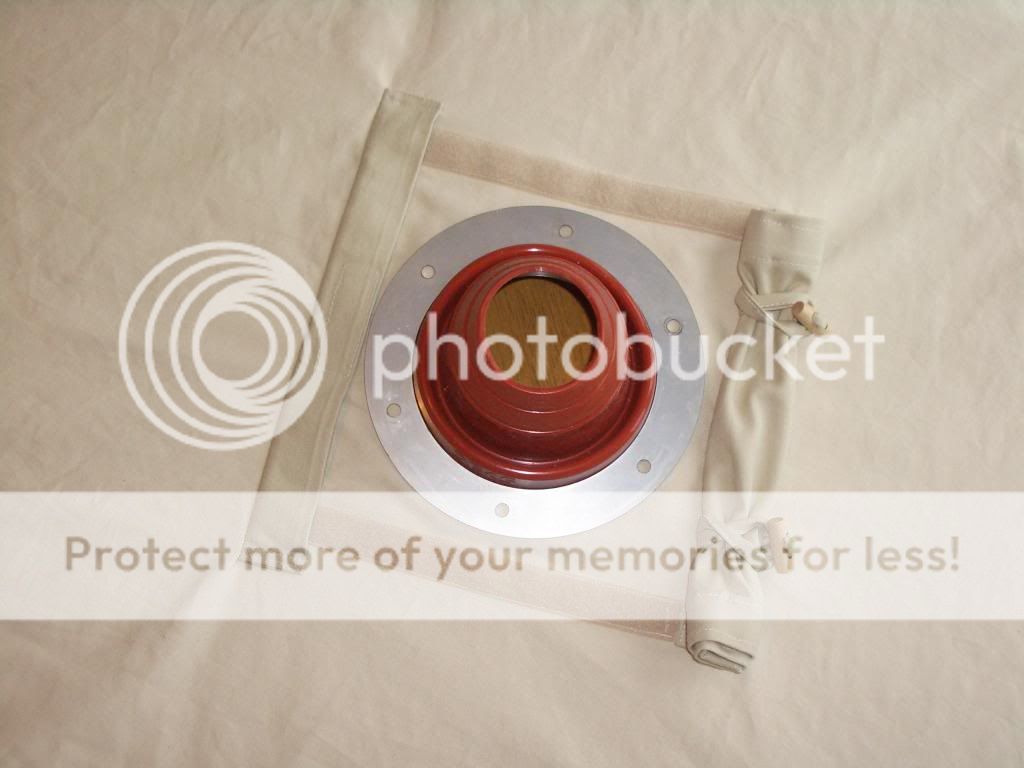
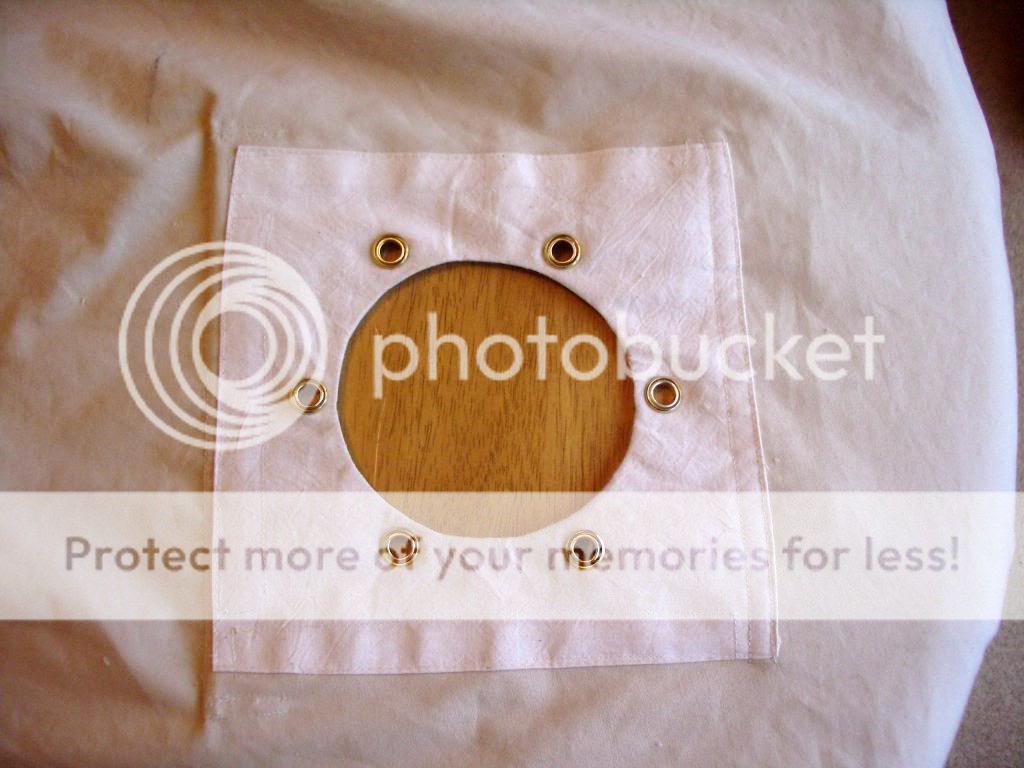
9. Poke holes carefully at these points and bang in some eyelets for reinforcement.
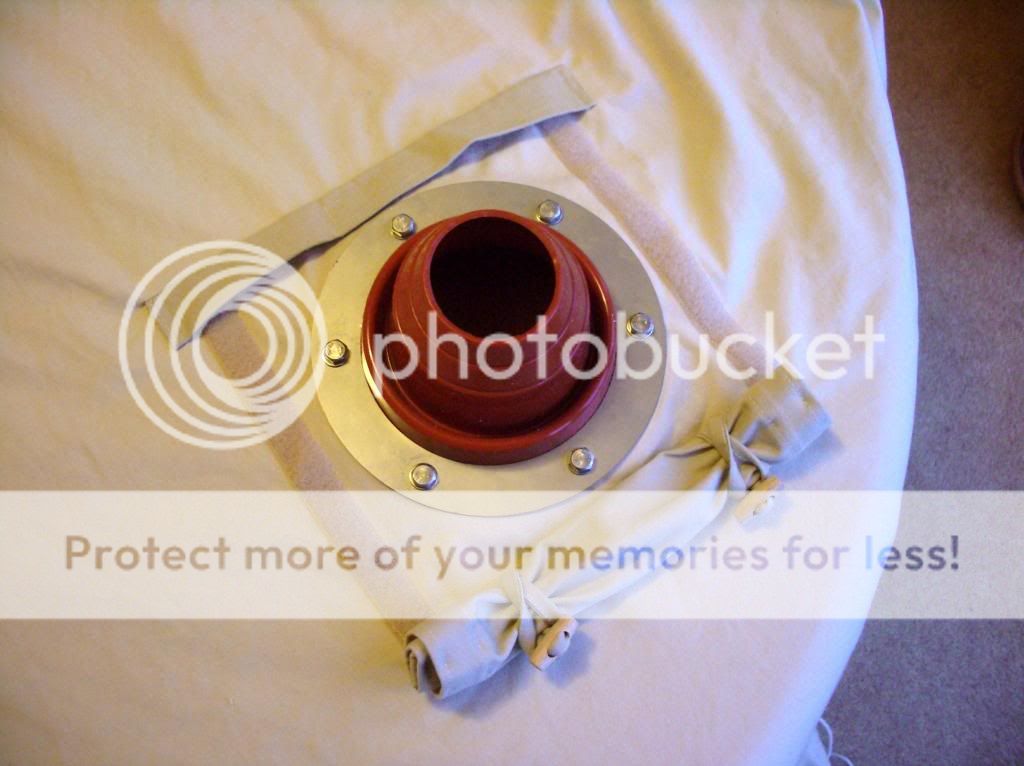
10. Attach the flashing kit with the bolts. I put the brown silicone part through the hole from the inside so that all the fabric is outside the silicone and can't make contact with the hot flue.
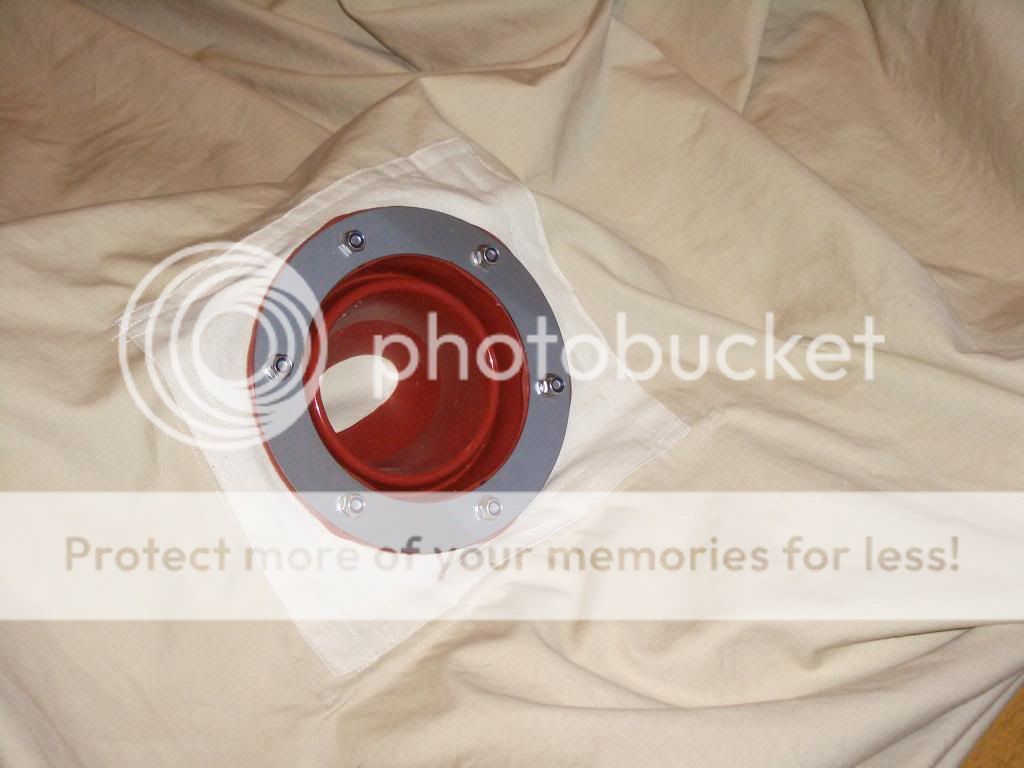
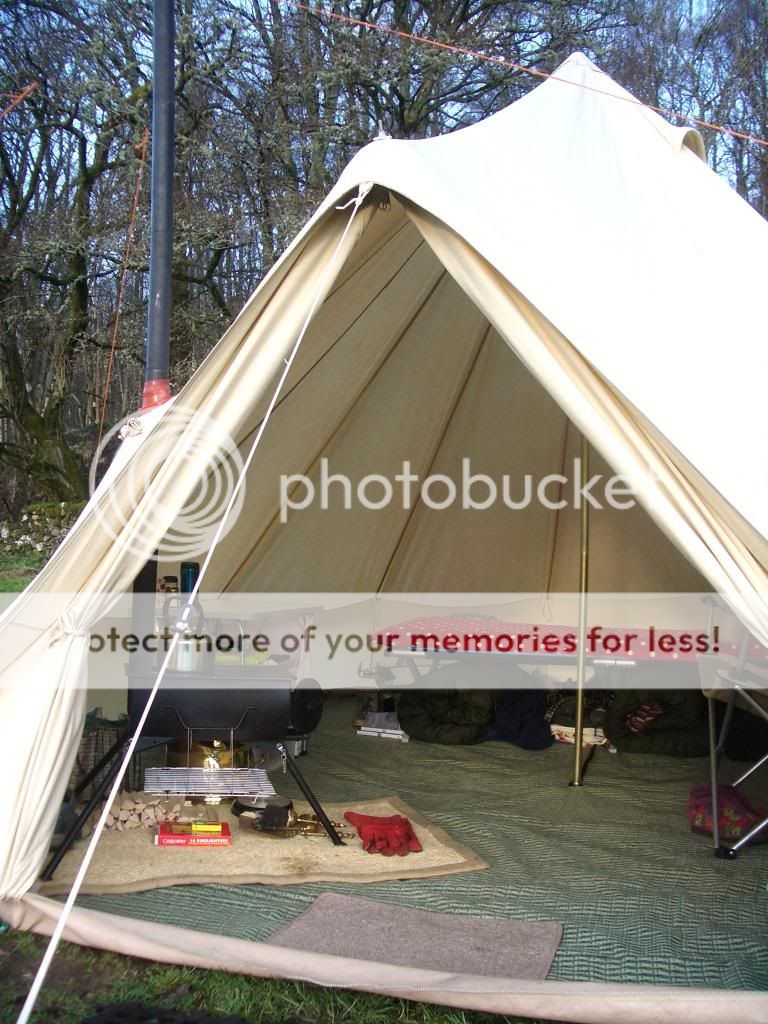
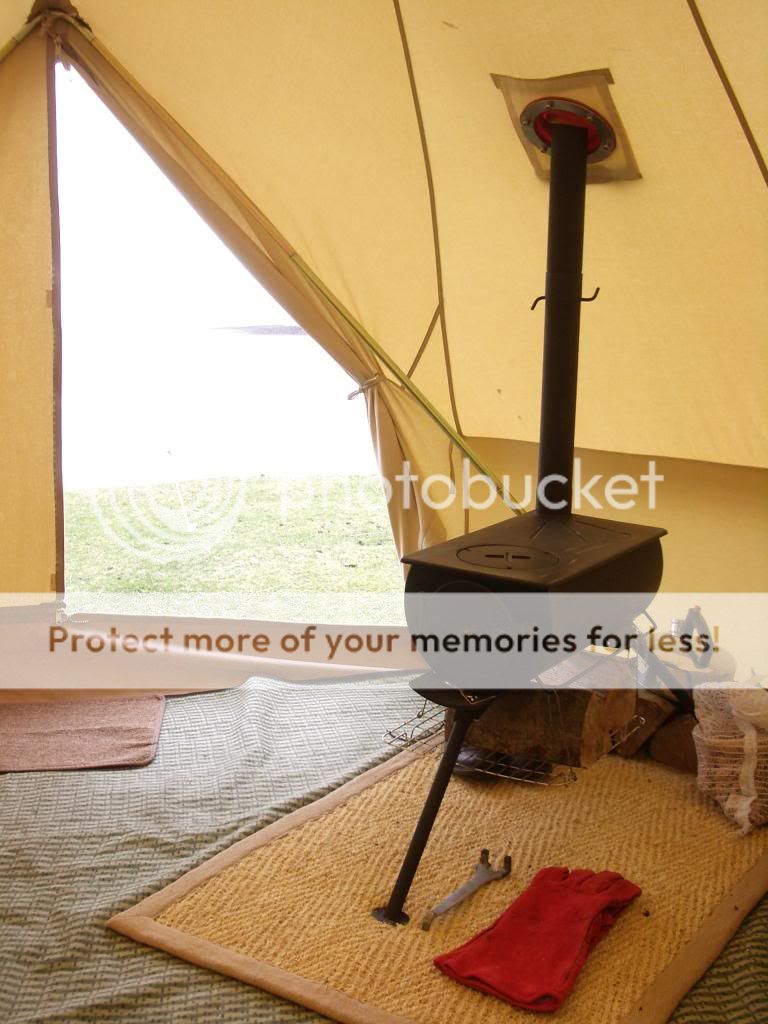
11. The finished kit in action! (Ignore those large logs - I didn't realise at that stage that the stove burns better with smaller pieces. The kettle wasn't suitable either - you need one with a flat bottom which will be in direct contact with the stove top so it will boil.) If you remove the flue but don't want to unbolt the flashing kit, you can push a plastic cup or a tennis ball up the flashing kit to block the hole. If you want to use the tent without the stove you can remove the whole flashing kit and close the flap. I worried about the rain coming in through the stitching holes but haven't had a problem so far.
Post last edited on 20/05/2013 10:08:21
Post last edited on 20/05/2013 10:18:42
-------------
Sarah
|
|
|
3699 Visitors online !
Free UKCampsite.co.uk Window Sticker - Recommend to Friend - Add a Missing Campsite
[Message Forums]
[Caravan Sites & Camping]
[Company Listings]
[Features / Advice]
[Virtual Brochure]
[Shop!]
[Reception]
[Competitions]
[Caravans & Motorhomes For Sale]
[Event Diary]
[Contact Us]
[Tent Reviews]


Please note we are not responsible for the content of external sites & any reviews represent the author's personal view only. Please report any error here. You may view our privacy and cookie policy and terms and conditions here. All copyrights & other intellectual property rights in the design and content of this web site are reserved to the UKCampsite.co.uk © 1999 - 2024 |

Advertisement
|
|
|


