Aye, that's the way they suggest on Zen Stoves. I found it's not as easy as it looks because the can doesn't have any weight to hold it to the work surface. Maybe I'm just ham-fisted.
But as I said right at the beginning, my photos are just the way I do it and everyone who tries will find their own way. It was always intended to be a "look how easy this is" inspiration rather than a guide.
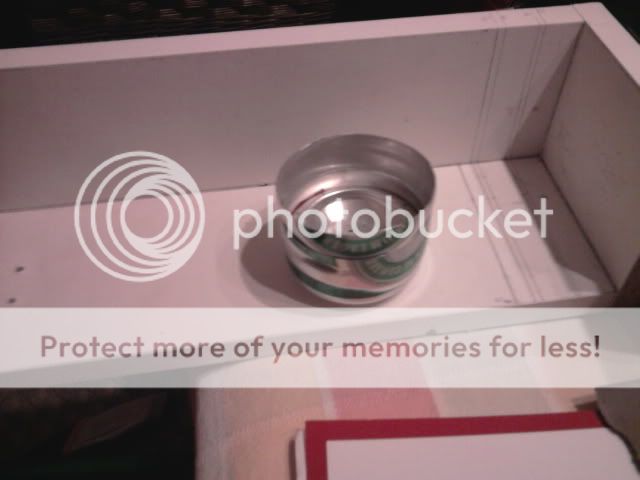
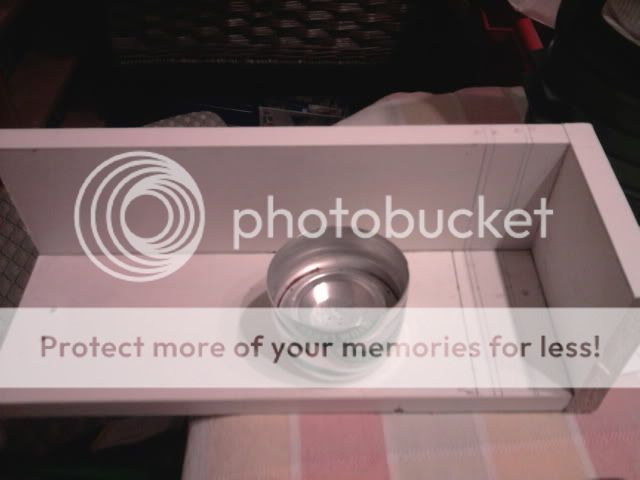
You seem to have started something sanhozay, these pics are of my attempt at a "penny stove", the white thing it is sitting on is a block I made so that I can make accurate cuts. You can see the lines I've marked on so I don't have to measure each time! I'm letting some gasket seal set and will test it tomorrow (hopefully!)
I made a penny stove to start with, although different from that one because it didn't have the raised side walls. You've done the right thing with the rosette of filling holes - apparently they can explode with a single large hole if you forget the penny or it moves. I suspect the pan will need to be raised up quite high above it to keep it burning well.
The main drawback with pressurised stoves is the need for external priming and the best solution I've seen is from Tinny: wrapping with a wick that gets a couple of drops of alcohol to prime the stove. Using a priming pan makes the stove burn a bit on the lively side between the flare up of the jets and the expiry of the priming fuel.
Same idea would work well on the side-burner stove or the Supercat type stove - giving almost instant priming. I've not tried it but the wick material is available from online shops that sell stuff for jugglers and pyromaniacs (or should that be pyrotechnicians?).
Having said that, yours may prime with a bit of fuel in the top. Is that part of the design?
Kep 'em coming - I love to see these home-made stoves.
It didn't burn well but I think the burner dropped too low to the walls so I'm going to drop the walls slowly and continue trying. I think I prefer the side burner stoves anyway. Not sure I'd mix and apply epoxy with my fingers as per the video!
Julz
I've made a few top burners, I did sand the paint off, and here's my tip. Sand the paint off before you open the can, it makes it a lot easier to hold and sand. I also shake the cans before sanding, but after sanding put them back in the fridge to settle down. I always have a good stock of Fosters cans in the fridge, so waiting for it to settle is not a problem.
------------- Canvas tent, paraffin light, petrol stove. Heaven
I'd rather be kayaking.
Spent up, not pent up, just had my new tent up.
Made a second attempt at a penny stove today and it worked much better. there were 2 major differences to the last attempt, 1) I used 2 matching Heineken cans and they were the big cans not small ones, and 2) the fit was better so I didn't have use any gasket sealant. My current stuff can be removed by acetone and METH's it seems! Explains why I wasn't getting a good seal.
Julian
I've just made my first Stove thanks to this thread!
I needed 2 attempts, and learnt from all my mistakes on attempt number one. Not that there were many though, this is an excellent tutorial.
I used the blade in the book method. Around 20 turns on the blade and not hard enough to go through the can, then make a small puncture on the line and it comes away really nice from the seam.
I'm using the purple coloured Meths, is that right?
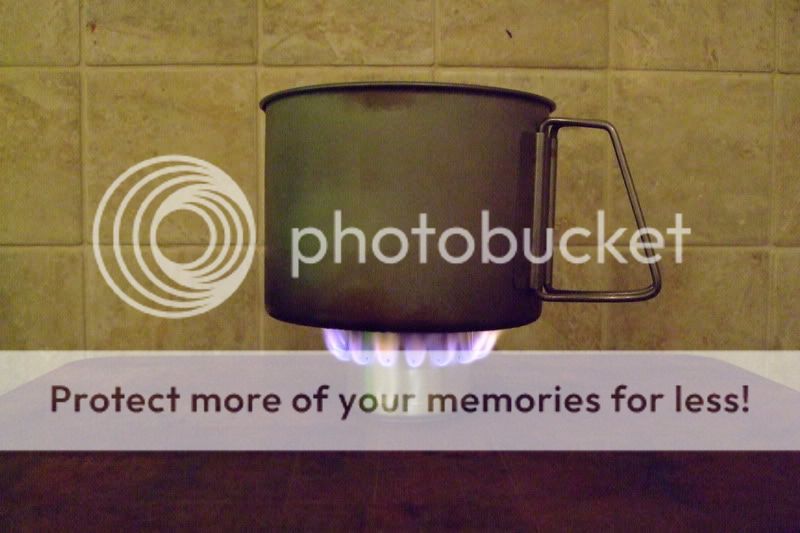
That's right, the purple meths. Trangia users (of which I am one) are in the habit of diluting with 10% water to reduce sooting but I find these stoves burn much cleaner and there's no need. You still get black pans (as you can see on my Titan kettle) but it's not sooty - it doesn't come off readily. Makes' em look loved.
I'm probably going to be asking a few questions on this sub-board over the next couple of months as I've never been wild camping and have decide that this is the year.
What do you carry your Meths in? I was thinking about a small container (squeezy) with a jet type end. Something like a washing up bottle but smaller and that wouldn't leak.
I use a selection of fuel bottles, ranging from the small 300ml Trangia bottle for multi-day trips, down to 50ml plastic bottles I'd take on a day walk. Make sure they don't leak by filling and leaving upside down for a couple of hours in a dish lined with kitchen paper.
It's a good idea to use a sealable plastic food container inside the pan to hold stoves, matches and fuel. Keeps any stray fuel off the inside of the pan, keeps matches dry, etc. Or at least use a plastic bag.
The flip-up jet bottles are good as long as they seal well. I've had some pound shop ones that don't.
A good accessory to collect is a little measuring cup like you get with some cold & flu medicines. Apart from saving fuel by using a measured amount, it's safer refilling a warm stove with a small cupful than a full bottle.